
Today’s websites need rich media to compete with other businesses. However, you can’t just snap a photo on your camera and throw it up on your website. You need to make adjustments in light levels for the most professional look possible, and you need to consider the size of the files you upload.
There are approximately 1.8 billion websites, but not all are active at the same time. You’re competing with the apps on people’s phones, social media, television, radio and any number of other distractions. You must find ways to stand out, and your design aesthetics matter.
You should also consider user experience (UX) as you add images to your website. The more usable your site is, the better your core users will respond. Let’s look at how to edit and upload photos to your site and what some key factors in a successful design are:
1. Take Quality Images
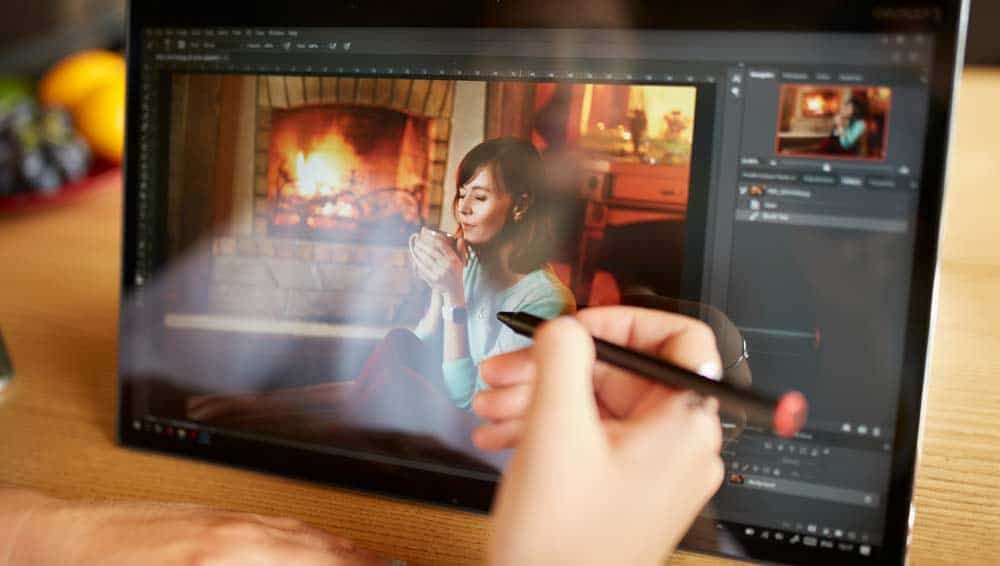
The photo you start with makes a big difference in the finished quality of your design. You can only do so much editing, even with powerful software such as Photoshop.
Before you snap photos of your products or office space, think about the message you’re trying to send. Which items represent your company in the best light?
Next, consider where you’ll use the visuals. If you want a shot for your site header, you’ll need a spot for your title. Is there room for it in the image, or will you have to do more overlays, which might obscure the item you wish to highlight?
Use the rule of thirds. If you know you want space for an H1 heading, you should place the product in the lower right third and leave space for the heading in the upper left two-thirds of the shot.

2. Create a Style Guide
A style guide ensures all your images have a similar feel to them. You need guidelines for your photographers and for anyone editing and posting your photos. If your rule is that you only take wide-angle shots, all your photos should be similar.
During editing, you might have a specific size you use for your website. This also can help your page load more uniformly and create a beautiful, sharp look that avoids producing fuzzy thumbnails. If you have a set size for uploading, you’ll also avoid fuzzy images when scaling up.
WAC Lighting has a similar look and feel for all the photos on their site. While each highlights a different product, the images are immediately recognizable as belonging to their brand.
The lighting of the photos highlights the lights they wish to sell. Most of the photos have white, black and gray tones, creating strong contrast. The images are sharp, showing plenty of detail.
3. Crop Images
Some photographs may come out with elements in the background you don’t want to show. Cropping is one of the best tools you can use in any photo editing software. It is an option even in your smartphone’s most basic editing features.
When designing a professional business website, you’ll want to make sure the focus is on the product or service. Step back from your computer screen and see how the image looks with the rest of the design.
As you become more advanced with your editing skills, you can use tools such as patching to take undesirable elements out of the background and replace them with something else.

4. Improve Lighting
Nearly any editing tool will also allow you to improve the lighting of your images. Beginning photographers and even experienced ones often find the lighting isn’t nearly as bright as it should be in their images.
If you aren’t skilled at editing, start by using the automatic adjustment tool. This will brighten up the image and make it appear sharper and its colors brighter. As you gain skills in this area, you can manually adjust the saturation and brightness.
Try to take photos with excellent lighting that looks natural. You can do this by using softbox lights or by taking the picture in natural lighting. Avoid having harsh shadows around an object. It is extremely difficult to edit them out. While you can improve on lighting, you can’t completely change it.
Alchemy Goods makes bike tube gear. Pay attention to the images on their site and the beautiful, balanced tones. On the individual product images, there are no shadows or distracting backgrounds. These images were likely taken in a lightbox and brightened up to create contrast between the product and background.
On their other images, there are background elements, but the colors are bright enough to pop. You’ll find the hues are true to life when you order one of their products.
5. Add Overlays
You can also use photo editing to add overlays to your images so you can layer text on top of any image you’d like or create a different color that better matches your brand’s palette.
Free tools such as Canva and GIMP allow you to easily add overlays and make them transparent as much or as little as you need to cause the text to pop.
You can also add an entirely new shade to an image, such as red, to draw attention to it or set a mood. Think about other sites that use color overlays and consider which designs you like best. Repeat these efforts in your own photo editing.
6. Size Your Images
How you size your images can impact how they appear on your website. If you upload a photo that is too small, it might look fuzzy in larger dimensions. On the other hand, a large image might take too much time to load. Separate from compressing your images, which we’ll discuss below, you also need to know about tools to resize them.
You may also want to change a photograph’s shape to make it more interesting and fit it better into your design. Some tools you can use include:
- Canva.com is free unless you purchase a premium account or buy some of their stock photography. You can use their templates to create any shape and place your photograph within that shape. For example, you can turn a square photo into a triangle or octagon.
- Photoshop & Photoshop Elements: Photoshop is now available through Adobe’s Creative Cloud. You can use Photoshop in the same way you would Canva to resize or reshape your image. One bonus with Photoshop is that you can also export in a lower resolution, which may negate the need to further compress images. A lite version of photoshop at faction the cost is Photoshop Elements ($69.95 as of this writing). Most of our clients that have the need for continual image manipulation chose Photoshop Elements.
- LunaPic: If you’re looking for a free online solution, LunaPic allows you to upload an image and resize it by cropping or scaling it.
- PicMonkey: While no longer a free tool, PicMonkey is an online platform with packages starting at $7.99 a month. You’ll gain the ability to resize pictures or use templates to change a photo’s shape and look.
- GIMP: This open-source software works very similar to Photoshop but is free to download. Go to Image/Scale once you have your pictures on hand. You simply enter the new dimensions you’d like to use and check if the image looks the way you want.

7. Compress Images
Google’s Chrome User Experience Report showcased how important speed is for websites. If the load time goes up from one second to three, bounce rates increase 32%. When load time reaches five seconds, bounce rates increase 90%.
In a nutshell, people won’t wait around for your site to load. Anything you can do to speed up your site helps your numbers. Compressing images makes them load more quickly. You can’t just take a high-resolution photograph off your DSLR camera and upload it unedited to your website.
If you’re using some paid photo editing software options, you can export in different formats and resolutions. If you are using something free, you may have to use a third-party website to upload the edited image and compress it before uploading to your site.
Behring Made loads almost the second you open the site. One reason why is the compressed values of their product thumbnails. Most measure at 35kb or less.
You can likely get by with higher-quality images on actual product pages. By the time the user clicks through to read more, they may want larger photos with better detail.
8. Pay Attention to Composition
Food bloggers were some of the first to create beautiful compositions for their photos. Rather than just taking a picture of a plate of food, they began experimenting with backgrounds and accents to tell a complete story.
If you ever want to know how to compose product shots, study some of the top food bloggers for inspiration. Your composition includes what surrounds the main object in a photo. While the surroundings aren’t the main focus and may even be blurry, they set the mood.
You can even drive the user to move in a certain direction through your pages by pointing your subjects toward calls to action (CTAs) and other areas on your page. Composing for movement requires a bit of pre-planning, but you can always flip images by mirroring them and adjust the angles in editing mode.
9. Fix Uploading Errors
Most WordPress sites have a cap on the size of the files you can upload. If you try to upload an image to your blog and get an error that you can’t due to the file size, you probably need to reduce the resolution of that photo or do a quick compression anyway.
Don’t just upload the image to your files anyway unless you have a specific reason for making it larger. You won’t lose much clarity when you compress, but you’ll improve the user experience (UX) and save space and bandwidth on your servers.
Some things might go wrong but are fairly easy to fix, such as the image facing the wrong way or images not loading properly. Some errors are fixable in WordPress’s editor or a simple photo editing program and others require a bit more work.
Always go for great usability. Make sure the images load quickly and are clear and relevant. The best photos blend in with the other elements on the page and seem like a natural part of the buyer’s progression through your site.
Make Photo Editing Your New Hobby
If you want the photographs on your website to pop, you must spend time learning editing techniques and improving the quality of your images. Put yourself in the shoes of your average customer. What types of visuals would you want to see? How can you improve what’s already there?
You don’t have to invest in a ton of expensive equipment and software to take beautiful pictures. You just need a lot of determination and a bit of knowhow. Commit to learning what you need to know to create one of the best business websites in your industry.

Eleanor Hecks is editor-in-chief at Designerly Magazine. She was the creative director at a prominent digital marketing agency prior to becoming a full-time freelance designer. Eleanor lives in Philadelphia with her husband and pup, Bear.